
Quack Gear Horn Install
Tools Needed:
- Wire stripers
- Crimp Connectors
- 12v Momentary Switch (optional)
- Extra Power Wire
Step 1.
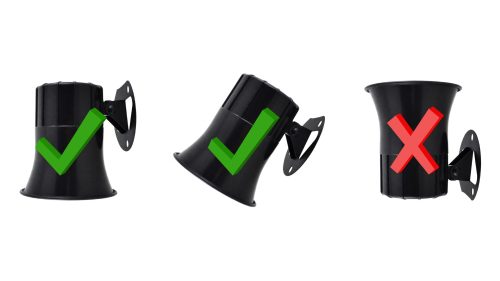
Find a suitable location to mount the Quack Gear Horn under the hood. The horn MUST be facing downward so that it does not accidentally fill with water.
Step 2.
Always a good idea to disconnect the negative battery cable before any wiring is attempted.
The best option is to wire the horn to a momentary switch. Then operate the switch as needed. This will maintain the use of the factory horn.
If you plan on using the Quack Gear Horn to replace your factory horn, you will need to disconnect the factory horn and use the included wire splicing connectors on the factory wires. Make sure to correctly identify the positive and negative on your factory wires.
- Red Wire = 12v Positive
- Black Wire = Negative
The switch is recommended to be on the negative wire.
*BadgeGlow is not responsible for damages incurred during inadequate installation or miswiring*
